
Jump to
Convert only when WebP is the obstacle
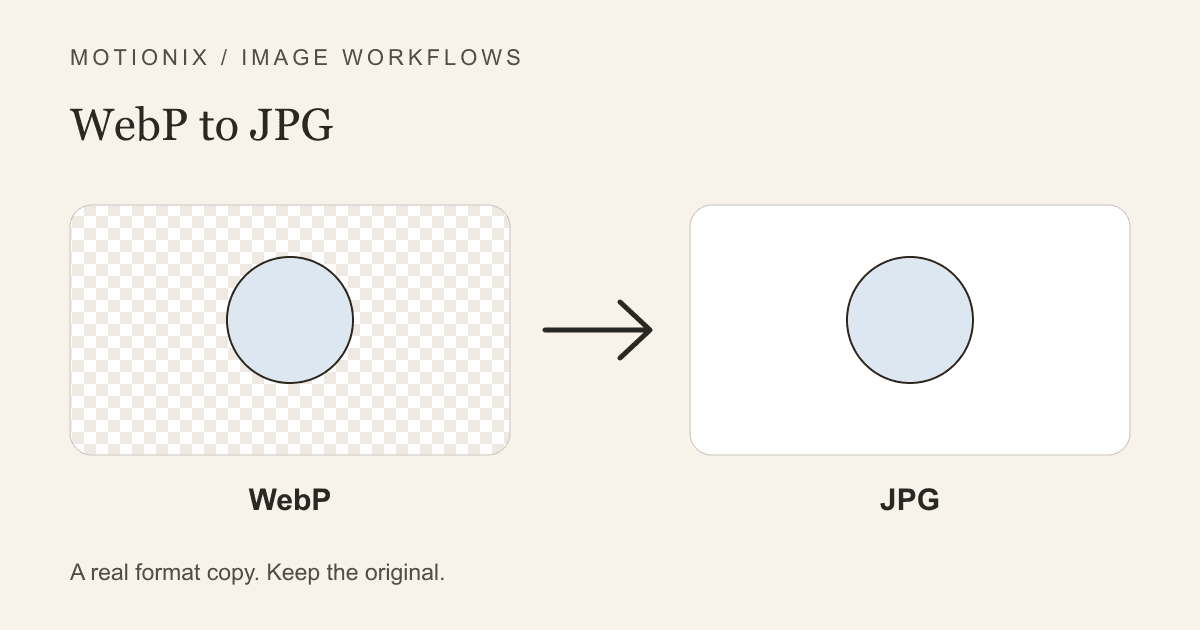
A downloaded WebP may display perfectly in your browser but fail in an older photo editor or a form that only accepts JPEG. WebP to JPG creates a real JPEG copy for that compatibility problem. It does not certify that the recipient will accept the picture's dimensions, byte size, or content.
First read the destination's documented file types. If it supports WebP, keeping your current image may avoid an unnecessary lossy export. Google's WebP FAQ describes the format's compression and modern browser support, but browser support is not the same as support in every upload system.
A practical upload preparation sequence
- Download a local copy you are authorized to use. The converter does not fetch arbitrary website URLs for you.
- Open the dedicated WebP-to-JPG tool and select a WebP within the 10 MB and pixel limits.
- Decide whether transparent regions should appear on white or another background color.
- Start with the displayed JPEG quality setting. Convert once and examine the actual output.
- Download the
.jpgcopy. Confirm that it opens normally and that its dimensions fit the recipient's instructions. - Upload that downloaded file, not the old WebP or a preview screenshot.
Keep the original throughout. If the first result is not suitable, make the next attempt from the WebP rather than repeatedly encoding the last JPEG. Changing an extension without re-encoding is not a workaround for a format check.
Two features JPEG cannot retain
| Source feature | JPEG result | If it must be retained |
|---|---|---|
| Transparent or partially transparent pixels | Composited onto your chosen background | Use WebP to PNG for a still alpha image |
| Animated frames | One still image | Use an animation-aware application rather than this converter |
Do not assume that every WebP is opaque or static. Open the source and inspect it first. A transparent product cutout flattened against the wrong color can acquire a noticeable box or halo. A moving sticker turned into one frame may no longer communicate its intended action.
For a still cutout, the transparency guide explains how to distinguish alpha from a white painted background. For motion, a video or animation workflow is a different task; the still converter does not preserve frame timing.
Expect a new encoding, not better original detail
WebP may already have been encoded lossily. Writing JPEG from its decoded pixels applies another lossy representation. It can improve compatibility without improving sharpness. Inspect small labels, faces, high-contrast borders, and subtle gradients at equal display size.
JPEG may also be larger than the source WebP. This is not inherently a failure: one format can encode the same visible picture more efficiently than another. Lowering quality can reduce bytes but may also make the file less useful. Use the result's measurements rather than applying an average percentage from a format study to your individual picture.
A valid JPG can still be rejected
If the recipient rejects the new file, check more than the name. A form can require a particular aspect ratio, exact width and height, a maximum byte count, or an image meeting a content policy. It might also have a temporary server error. Conversion solves only the format part of that list.
Use the photo resizer for a documented dimension rule and the image compressor for a byte budget. Our upload rejection checklist separates those cases so you do not degrade a photo through repeated irrelevant exports.
Browser export behavior matters
The tool requests JPEG output and verifies the returned MIME type. That check matters because Canvas toBlob() can export PNG when a requested encoder is unavailable. A successful-looking download should never quietly be PNG data under a .jpg name.
The browser-rendered copy is not guaranteed to retain original metadata, color profiles, or print settings. Keep the source for archival work. No image upload is required for local conversion; normal application loading and your separate analytics consent are different network behaviors.
Frequently asked questions
How do I prepare several WebP files for one upload session?
Add up to 20 images to the converter queue, with a 10 MB per-file and 100 MB combined input limit. Choose the common JPEG settings, inspect individual results, and download a ZIP of ready files. The ZIP is for your convenience: if the destination accepts only images, extract it and submit the individual JPEGs rather than uploading the archive. Files that fail remain identifiable, and the successful outputs stay available. Keep the 100 MB retained-output limit in mind for large batches.
Can I rename WebP to JPEG in the file manager?
Renaming changes the label, not the encoded data. Use a converter that produces actual JPEG bytes.
Does a JPG-only requirement mean my output will be approved?
No. The recipient controls all its other rules too. Verify size, dimensions, and content separately.
What should I use if I need transparency?
Choose PNG for a compatible still-image copy with alpha. JPEG cannot carry transparency, regardless of its quality setting.
Is converting to JPG always necessary for sharing?
No. Modern browsers often handle WebP directly. Convert when the actual destination requires another format, not simply because the extension is unfamiliar.
Keep reading
video ·
Video Not Playing in PowerPoint: Check More Than MP4
Diagnose PowerPoint video problems by checking codecs, audio, file access, and the destination version rather than relying on the filename extension.
Read
video ·
Extract a Video Frame as PNG Without a Screenshot
Save a decoded video frame for a thumbnail or document, check the selected moment and dimensions, and avoid mistaking PNG export for video repair.
Read
subtitles ·
Fix Subtitle Timing: Offset or Gradual Drift?
Work out whether subtitles need a constant shift or two-point drift correction, then check the repaired SRT or VTT against your actual video.
ReadConversation
Join the conversation
Share a useful question, correction, or practical tip. Comments are reviewed before they appear.
Loading…