
Jump to
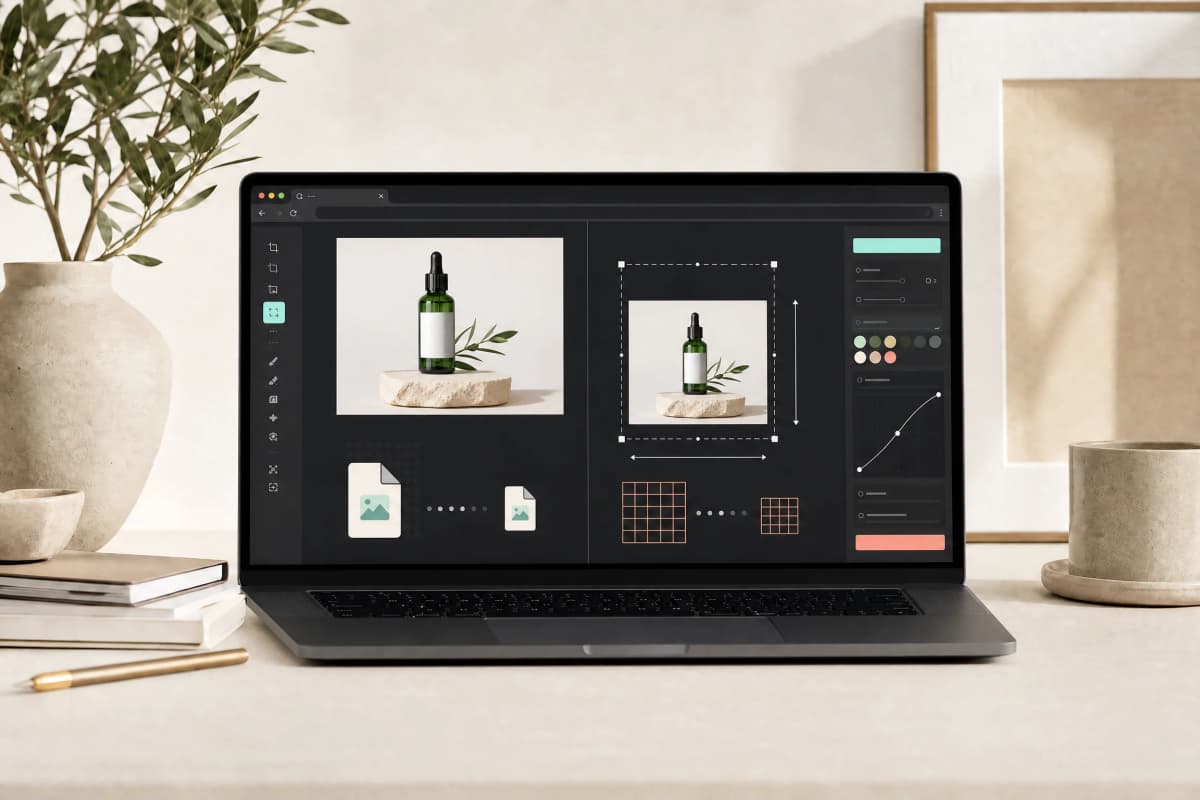
Image compressor vs image resizer — short answer: use an image resizer when you must change pixel dimensions (width × height) or preserve/crop aspect ratio; use an image compressor when you must reduce file bytes without changing pixel dimensions. For most web workflows use both in sequence: resize first to the largest display size you actually need, then compress the result to meet a file-size budget. Resizing removes pixels and usually yields the biggest file-size reduction; compression changes encoding and can introduce artifacts while trimming bytes. If you must hit a strict byte limit, iterate: resize to the needed display size, pick an efficient format, compress, inspect, then repeat.
Decision tree — pick what you need first
- Need specific pixel dimensions, thumbnails, or to avoid stretching? Use a resizer.
- Need a smaller download size but must keep display dimensions? Use a compressor.
- Need both (fit layout and meet a file-size budget)? Resize first, then compress. If the result still exceeds your target, try a slightly smaller resize or a more efficient format and compress again.
Quick links:
- Resize techniques and avoiding distortion: see the resizing guidance in our article on resizing without stretching.
- If you want to compress only, try the Motionix image compressor.
Why pixels, bytes, quality, and aspect ratio are different things
- Pixels (width × height): define how many picture elements the image contains. Fewer pixels usually mean fewer bytes and less detail.
- Bytes (file size): the number of bytes stored on disk or downloaded. Bytes depend on pixels, file format, compression level, and metadata.
- Quality (compression artifacts): lossy compression reduces fidelity to save bytes. Visible artifacts include blocking, banding, and blurring.
- Aspect ratio: the proportional relationship between width and height. Changing aspect ratio without cropping will stretch or squash an image.
Understanding the difference helps choose the right tool: resizing controls pixels and aspect ratio; compression controls encoding, metadata, and visual fidelity.
Comparison table: Image compressor vs Image resizer
| Attribute | Image resizer | Image compressor |
|---|---|---|
| Primary change | Reduces pixels (dimensions) | Reduces bytes (file size) |
| What actually changes | Width × height in pixels; file size usually drops as a side effect | Encoding parameters and artifacts; pixels remain the same |
| Typical use cases | Fit layout, create thumbnails, enforce pixel limits | Meet bandwidth or file-size budgets, faster page loads |
| Effect on perceived quality | Can preserve or improve perceived sharpness if downsized; too small loses detail | Can introduce visible artifacts if over-compressed |
| When to use first | Use first when you need different pixel dimensions or to maintain aspect ratio | Use after resizing to tune bytes |
| Primary risk | Upscaling causes blur; wrong aspect ratio causes stretch | Over-compression causes visible artifacts or color shifts |
When to use both — sequence and trade-offs
Always resize before you compress when possible. Reasons:
- Resizing removes pixels outright. If you compress first, the compressor may discard detail that resizing would have removed, reducing overall efficiency.
- A smaller, resized image is a cleaner base for compression. Compression then trims bytes without changing pixel count.
Trade-offs and practical choices:
- For responsive sites, export multiple resized versions and compress each for the target screen sizes.
- For print or high-density displays, avoid aggressive lossy compression that destroys fine detail.
- If a single image must serve many sizes, consider generating a set of resized files and using srcset.
Worked example (steps and realistic expectations)
Starting file: 4,000 × 3,000 px, 5.0 MB, JPEG. Goal: show at 1,200 px wide on a blog and get under ~200 KB for web delivery.
-
Resize to target dimensions
- Resize width to 1,200 px while preserving aspect ratio. New dimensions: 1,200 × 900 px.
- Expect a large file-size reduction from pixels alone; the exact bytes depend on image content and original compression.
-
Compress the resized image
- Choose an appropriate format (JPEG or WebP for photos). Apply a moderate quality setting and strip metadata.
- After compression you may reach the target. If not, reduce quality incrementally or try a more efficient format.
-
Iterate and inspect
- If visible artifacts appear, slightly increase the resize dimension, try a different quality trade-off, or select a different format.
- If you must keep original dimensions, compress only and accept that visual artifacts may be necessary to meet a strict byte target.
Note: the numeric outcomes above are examples, not guarantees. Actual bytes depend on image content (smooth areas compress better than noisy textures), chosen format, compression algorithm, and metadata. For strategies on hitting file-size targets, see our guide on resizing images to a file size.
How formats interact with resize/compress choices
- JPEG: good for photographs, lossy. Works well after resizing. Watch for artifacts in flat areas or gradients.
- PNG: lossless and good for graphics with transparency. For photos PNG files are often larger than JPEG.
- WebP and AVIF: modern formats that often yield smaller files at similar visual quality. Check browser support and fallbacks before relying on them.
Short step-by-step checklist (quality-focused)
- Decide required display dimensions and aspect ratio.
- Resize to the largest display size you actually need.
- Choose a file format suited to the content (photo vs graphic).
- Compress to meet the file-size budget; strip unnecessary metadata.
- Inspect at actual sizes and on representative devices; iterate.
Practical tips and gotchas
For a concrete case where both tools matter, follow the Outlook signature image-size guide: choose the displayed frame with the resizer, then compress only if the exported file needs a smaller byte budget. Inspect logo lettering after each step.
- Always keep an original master copy before making destructive changes.
- Use responsive images (multiple sizes with srcset) to serve appropriate pixel dimensions.
- Strip EXIF and other metadata if not required to save bytes.
- Avoid upscaling; it adds blur and little real value.
- Test on low-bandwidth networks and mobile devices, and check high-density displays.
- Platform behavior and browser support change; re-check format support and tooling from time to time.
Frequently asked questions
What is the main difference between an image compressor and an image resizer?
A resizer changes the number of pixels (width × height) and can preserve or change aspect ratio. A compressor changes the file encoding and fidelity but keeps the pixel dimensions the same. Use a resizer to match layout needs and a compressor to reduce download size.
Which saves more bytes: resizing or compressing?
Resizing usually produces the largest single reduction in bytes because it removes pixels. Compression further reduces bytes by changing encoding; both together are most effective.
Will compressing an image change its pixel dimensions?
No. Compression alters the encoding, quality, and metadata but not pixel width and height. To change dimensions use a resize operation.
How can I reliably meet a strict file-size target?
There is no universal guarantee because final bytes depend on image content and format. The practical approach: resize to the required display size, choose an efficient format, compress iteratively, and inspect results. See our article on resizing images to a file size for step-by-step strategies.
When should I use lossless compression instead of lossy?
Use lossless compression for graphics that require perfect fidelity, such as logos, screenshots with text, or archival masters. Use lossy compression for photographs where some quality loss is acceptable to gain much smaller files.
Does changing aspect ratio always stretch an image?
Only if you change width and height independently without cropping or padding. To avoid stretching, preserve aspect ratio or crop/pad intentionally. See our guide on how to resize without stretching for techniques.
References
- MDN on compression: Glossary: Compression
- Practical optimization tips: Shopify — 10 must-know image optimization tips
- Motionix image compressor: try the image compressor tool
- Motionix guidance on resizing to a file-size target: resizing images to a file size
- Motionix guide to resizing without distortion: resize without stretching
If you want to change pixel dimensions first, use Motionix’s photo resizer; then compress with the Motionix image compressor to meet file-size targets.
Related Motionix tools and guides
image compressor · resize image to file size · resize without stretching
Keep reading
video ·
How to choose the right video format for your project
MP4, MOV, WebM, AVI — when to use each video format and what makes them different.
Read
privacy ·
Browser-based vs cloud-based image tools: a privacy comparison
What happens to your files when you use online image tools — and why browser-based processing is the safer choice.
Readphotoshop ·
AI background removal vs Photoshop: when to use each
A practical comparison of AI-powered background removal and manual Photoshop editing — speed, quality, cost, and use cases.
ReadConversation
Join the conversation
Share a useful question, correction, or practical tip. Comments are reviewed before they appear.
Loading…