
Jump to
Read the rejection before choosing a tool
An upload can require an image format, a maximum byte count, a particular pixel frame, or several of those at once. Format conversion, compression, and resizing answer different parts of that requirement. Doing all three without a reason can spend time and degrade a useful source.
If a site says JPEG only, you need JPEG data. If it says smaller than a byte cap, merely changing to another extension is not a guarantee. If it says 600 x 600 pixels, keeping the original dimensions during conversion does not satisfy that frame.
Three operations, three jobs
| Operation | What it changes | What it does not guarantee |
|---|---|---|
| Conversion | The encoded file format | Smaller bytes, recovered detail, or destination approval |
| Compression | The encoding or quality chosen for a byte budget | The right format or dimensions unless explicitly configured |
| Resizing | Pixel width, height, or crop | Correct metadata, readable detail, or a specific byte size |
Use PNG to JPG or WebP to JPG for a real JPEG requirement. Use the image compressor for a size budget. Use the photo resizer for a frame. A good workflow reads the destination first and chooses only the operations that are needed.
A HEIC photo needs a compatible decoder before these general image tools can read it. The dedicated HEIC-to-JPG converter creates a JPEG copy of supported still photos. Conversion solves that format problem; it does not guarantee a smaller file or preserve an archival original.
Why a conversion can change size unpredictably
Different formats encode the same rendered image differently. PNG may store a photographic JPEG's decoded artifacts using many bytes. WebP may be efficient for a photograph, but a high-quality trial can still exceed the original JPEG. A simple graphic may behave differently from a full-color scene.
Google's WebP FAQ documents cases where WebP grows. The MDN format guide explains why lossless graphics and lossy photographs call for different choices. Neither source establishes an output-size promise for your particular file.
A combined requirement example
Imagine a destination explicitly asks for a JPEG at a square pixel size and below a given byte cap. The following order avoids unnecessary round trips:
- Keep the best source image intact and record the destination's actual requirements.
- Create the required square frame, choosing Contain or Cover based on whether all the source must remain visible.
- Choose a JPEG output and deliberately flatten alpha if the source is transparent.
- Check the exported dimensions and actual bytes.
- If necessary, adjust the quality or permitted dimensions from the best available source, rather than repeatedly recompressing the previous output.
- Open the final file and inspect important details before uploading it.
The square size and cap in your real task must come from its published instructions, not a generic example. For official documents, matching pixels and bytes alone does not establish compliance.
Quality controls and target bytes are not the same
The value passed to a browser's Canvas encoder expresses a quality preference for supported lossy formats. It is not a request for exactly 50 KB or a portable guarantee of 90% visual similarity.
A byte-target tool must measure candidate outputs. If the available image and dimensions cannot reasonably reach the cap, an honest tool should explain the limitation rather than declare an oversized file successful. Motionix's compressor checks the generated size and can reduce dimensions for supported target workflows; inspect the result for legibility afterward.
Three common wrong turns
Changing the extension manually: the byte stream remains unchanged. A recipient checking the real image type can reject the mismatch.
Converting JPG to PNG to fix blur: a larger PNG can store the same already-imperfect pixels. The quality-recovery guide explains why a different encoding cannot reconstruct missing source detail.
Flattening a transparent logo unnecessarily: JPEG loses alpha. If the next editor needs transparency, use a compatible PNG workflow instead. The alpha guide describes what to inspect before making that choice.
Decide what is worth preserving
Not every workflow needs original metadata, animation, or exact color-profile behavior. Some do. A browser-rendered still-image conversion is unsuitable when those properties must be preserved exactly. Keep the original and use an application designed for that requirement rather than treating a small preview as proof.
For a modern website, JPG to WebP creates an alternative worth measuring. It is not a complete site-performance fix. For a PNG-only editor, JPG to PNG may meet compatibility requirements despite a larger file.
Final checklist
Confirm the actual format, filename, dimensions, and bytes. Inspect the correct background and important content. Then test the file in the real destination. The best result solves the requirement with usable detail, not simply the smallest number or the newest extension.
Keep reading
png to jpg ·
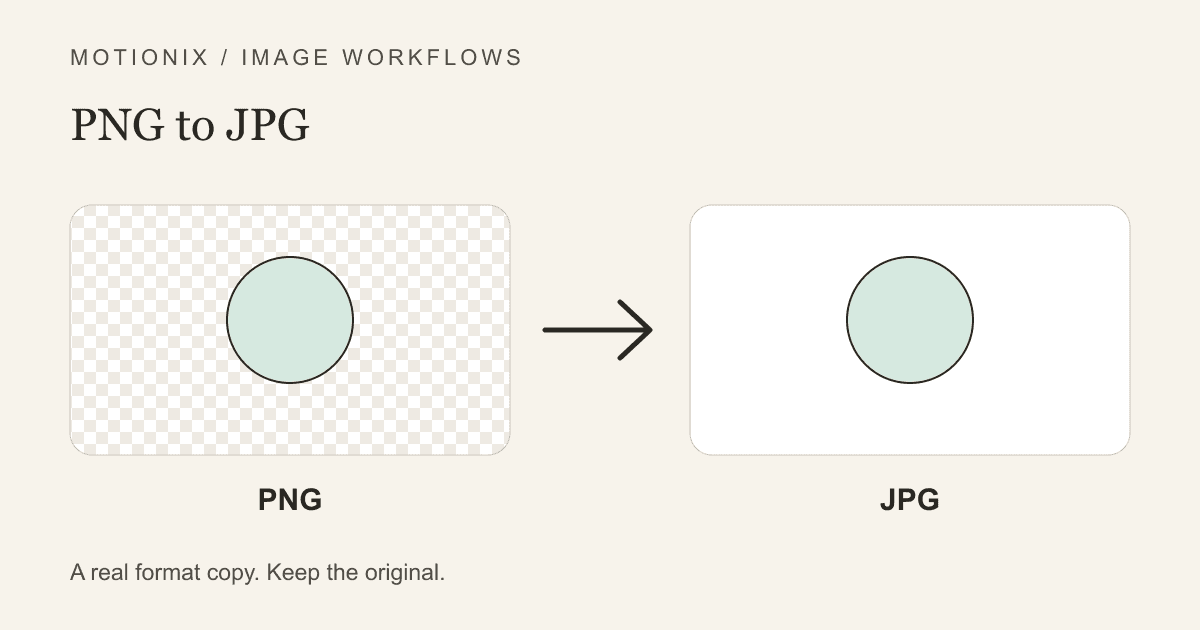
PNG to JPG: Choose the Right Background and Quality
Convert a PNG to a real JPEG, choose how transparency is flattened, inspect fine details, and avoid common upload and quality mistakes.
Read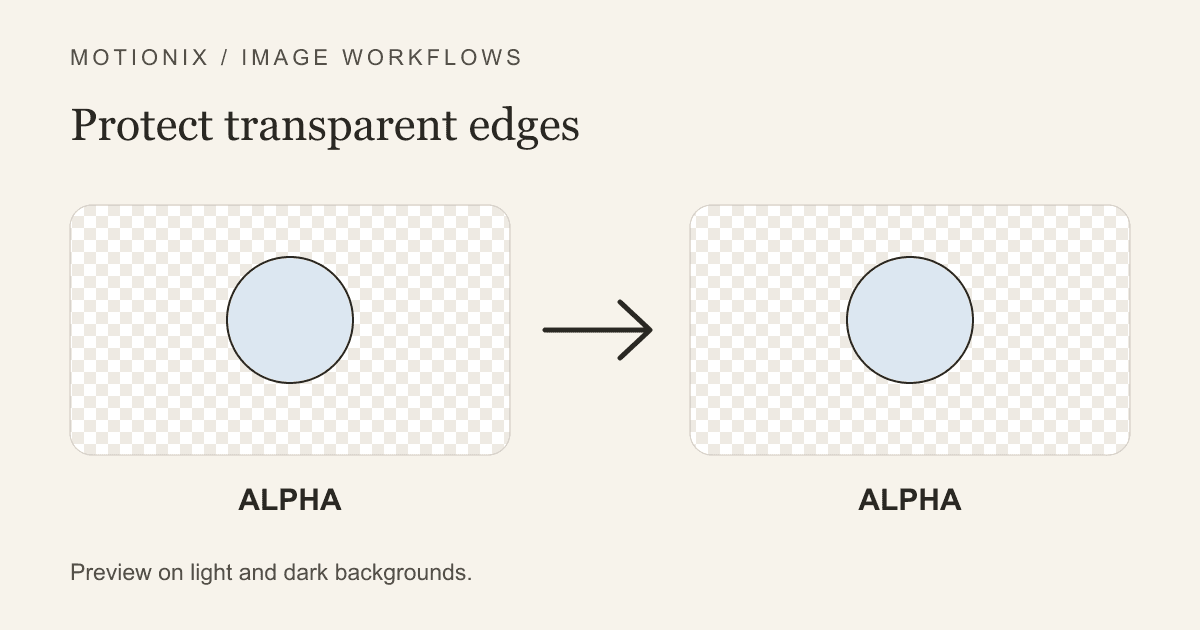
transparency ·
Preserve Transparency When Converting Image Files
Distinguish alpha from painted backgrounds, choose a format that keeps transparency, and check cutout edges without confusing the preview grid with pixels.
Read
wordpress ·
How to compress images for WordPress and CMS uploads
Shrink images before uploading to WordPress, Squarespace, Wix, and other CMS platforms.
ReadConversation
Join the conversation
Share a useful question, correction, or practical tip. Comments are reviewed before they appear.
Loading…