
Jump to
Removing the background from a photo used to mean hours in Photoshop with the pen tool. In 2026, it takes about two seconds in a browser tab. This guide covers every approach — when to use each one, what the AI models actually do, and how to get clean results on the first try.
How background removal actually works
Modern background removal tools use a segmentation model — a neural network trained to separate foreground from background pixel by pixel. The most common model in web-based tools is ISNet (Interference Suppression Network), which runs entirely in your browser via ONNX Runtime.
The model downloads once (~30 MB), caches in your browser, and processes images locally. No upload, no server, no waiting.
When to use browser-based tools
Browser-based removal is ideal when:
- Privacy matters. Client photos, product shots, medical images — anything you don't want on a server.
- Speed matters. No upload round-trip means results in 1-2 seconds after model warm-up.
- Volume is moderate. For a handful of images per day, browser tools are perfect.
When to use server-based tools
Server-based tools make sense when:
- Batch processing. Hundreds or thousands of images need consistent output.
- Video backgrounds. Browser tools can't handle video — you need a server.
- Ultra-fine hair detail. Server models with larger memory budgets can handle edge cases better.
Getting clean results
The quality of your input photo matters more than the tool:
- Use even lighting. Harsh shadows confuse segmentation models.
- Plain backgrounds help. A contrasting background makes the cutout cleaner.
- Avoid motion blur. Sharp edges produce sharp masks.
- Face the camera. Profile shots have more edge ambiguity than front-facing photos.
Output formats
- Transparent PNG — the standard. Preserves alpha channel for layering.
- White background — for e-commerce listings, passports, and resumes.
- Custom color — for brand-consistent product shots.
Common mistakes
- Over-compressing the input. A 50 KB JPEG has artifacts that create jagged edges.
- Ignoring the mask preview. Always check the mask before downloading.
- Using the wrong tool for hair. Fine hair needs a model trained on portrait data, not product data.
Hard cases: hair, glass, and shadows
Auto-removal handles clean silhouettes in one pass. Three subjects still trip up every segmentation model, and knowing the failure mode saves you a re-shoot.
- Hair and fur. Flyaway strands are semi-transparent — the model must guess how much background shows through each one. Shoot against a background that contrasts with the hair color (dark hair on a light wall) so the edge is decisive. For a portrait-specific walkthrough, see our guide to removing backgrounds from hair and fur.
- Glass and transparency. Wine glasses, bottles, and clear packaging confuse the mask because the background is visible through the subject, so the model often erases the transparent area entirely. Place a contrasting card behind the object so the glass reads as a distinct shape, then decide later whether to keep it see-through.
- Shadows. A cast shadow shares no hard edge with the subject, so the model either includes a grey smudge or clips the feet and base. Even, diffused lighting removes the shadow at the source — always cheaper than fixing it afterward.
Manual touch-up after auto-removal
Even a 95%-accurate cutout usually needs about 30 seconds of cleanup:
- Zoom to 200% and trace the outline, looking for a halo of leftover background pixels (color fringing).
- Erase stray pixels with a soft, low-hardness brush so the edge stays natural.
- Restore lost detail — bring back a whisker, an earring, or a strand of hair the model dropped.
- Defringe by nudging the edge inward 1–2 pixels to remove the thin colored rim left by the old background.
If you then need the subject on a fully transparent canvas, our make a transparent PNG walkthrough covers exporting without a white matte.
Choosing your output: transparent PNG, solid color, or a new background
| Output | Best for | Watch out for |
|---|---|---|
| Transparent PNG | Logos, layering, design work | Larger files; unsupported by JPEG |
| Solid white/color | Marketplaces, passports, resumes | Must hit the exact required RGB value |
| New background composite | Portraits, ads, thumbnails | Match the lighting direction or it looks fake |
Transparent PNG is the safe default because you can flatten it onto any color later. Only bake in a solid background when the destination demands it — an Amazon listing needs pure white (255,255,255), while a resume photo usually wants a soft neutral grey.
Frequently Asked Questions
Is browser-based background removal really private?
Yes. Tools built on an in-browser model such as the background remover download the neural network once and run it on your device. Your image is never uploaded, which is why client photos and product shots stay confidential.
Why does my cutout have a thin colored edge?
That is color fringing — leftover pixels tinted by the original background. Shoot on a neutral grey rather than a saturated backdrop, then defringe by contracting the mask edge 1–2 pixels during touch-up.
What resolution should I upload?
Upload the highest-quality version you have. A heavily compressed 50 KB JPEG carries block artifacts that become jagged mask edges. If you need a smaller file, compress after removal with the image compressor, not before.
Can I remove the background from a video?
Not with a browser image tool — segmentation there works on a single still. Video needs a server pipeline that processes frame by frame, so plan for a different workflow than the one-image-at-a-time approach above.
Related tools on Motionix
- Background Remover — AI-powered, runs in your browser
- Passport Photo Maker — uses background removal for compliant photos
- Resume Photo Maker — clean headshots with background swap
Keep reading

group photos ·
Removing backgrounds from group photos: a practical guide
How to isolate individual people from group photos for headshots, profiles, and composites.
Read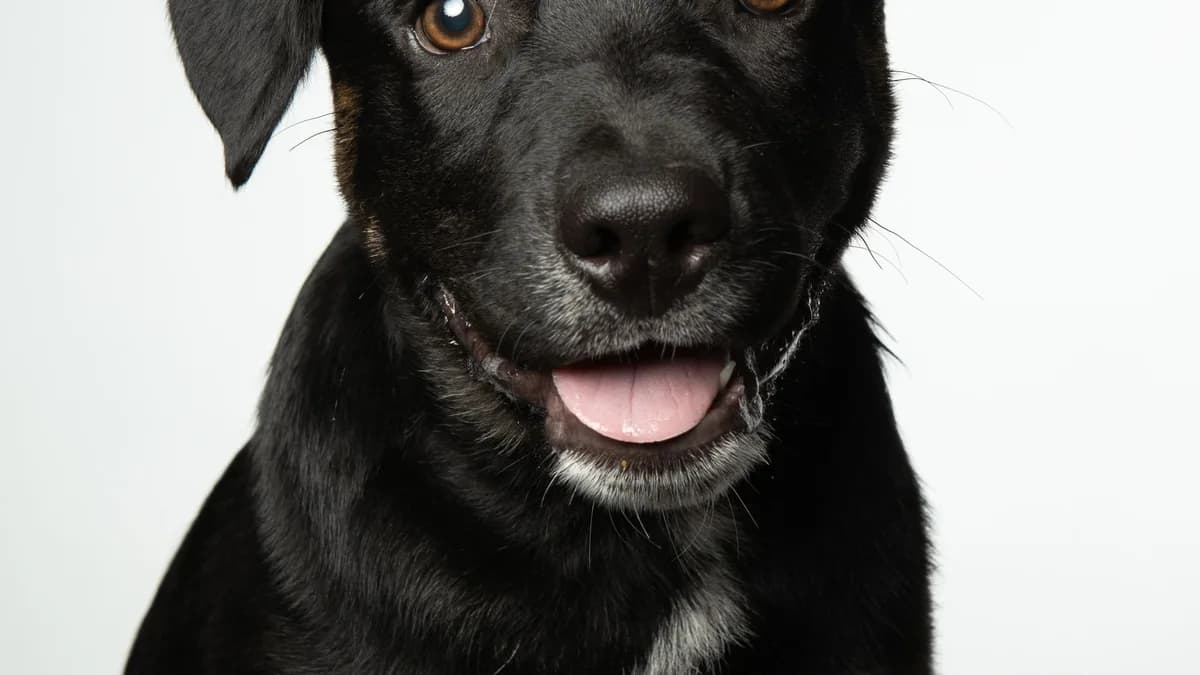
pets ·
How to remove backgrounds from pet photos
Tips for getting clean cutouts of cats, dogs, and other pets — handling fur, ears, and tricky edges.
Read
photoshop ·
AI background removal vs Photoshop: when to use each
A practical comparison of AI-powered background removal and manual Photoshop editing — speed, quality, cost, and use cases.
ReadConversation
Join the conversation
Share a useful question, correction, or practical tip. Comments are reviewed before they appear.
Loading…