
Jump to
Quick answer (what to expect and when to use each approach)
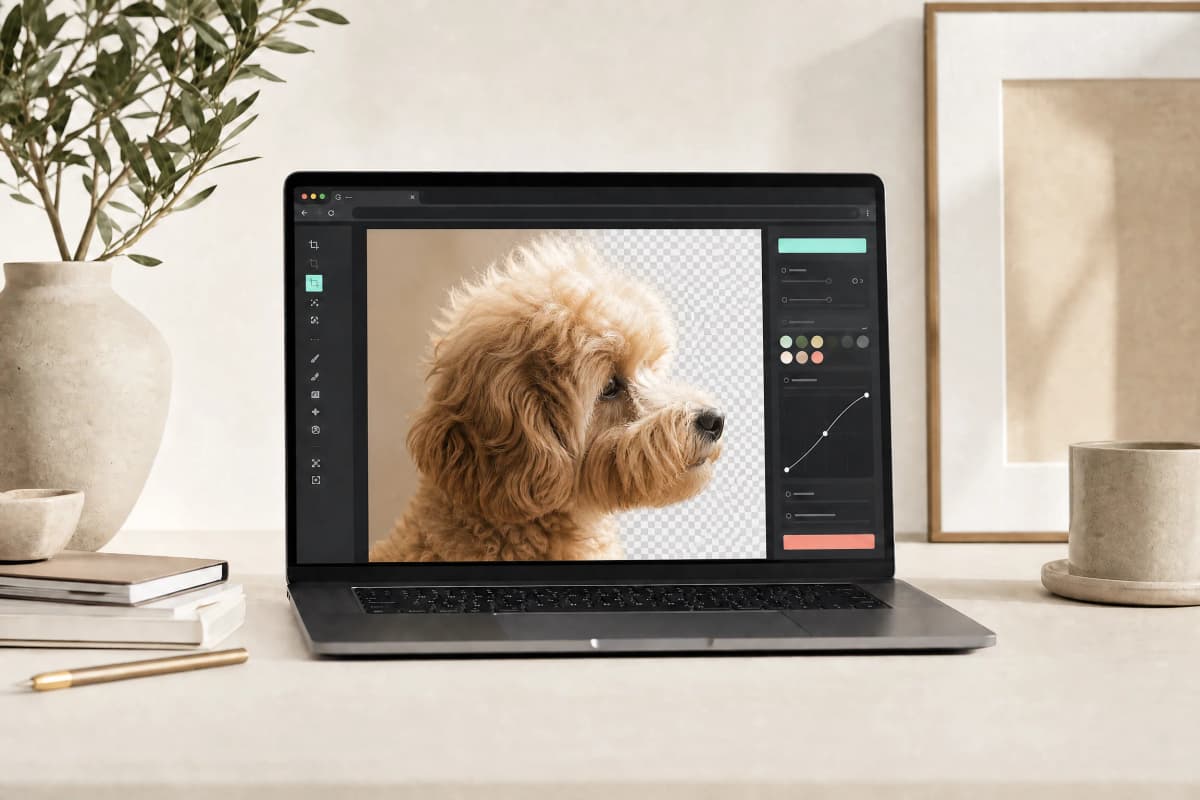
Automatic background removers can handle many portraits and pet photos quickly, but fine hair, translucent strands, motion blur, and fur that overlaps complex textures often produce visible artifacts. To get the best result with automatic tools, increase subject-background contrast, run an automatic pass that includes a hair/edge refine step, inspect and clean edges at 100% zoom, remove color contamination, and refine the mask by painting back fine strands. Hire a manual editor when edges must be perfect or when hair/fur blends with similarly toned, busy, or backlit backgrounds.
Decision: automatic tool or manual editor
Automatic tools are a good first choice when:
- A single subject has clear separation from the background.
- Lighting is even and there is reasonable contrast between hair or fur and the backdrop.
- You need a fast, low-cost result for web or casual use.
Choose a manual or hybrid editor when:
- Hair is translucent or backlit, creating rim light and internal color shifts.
- Flyaway strands overlap patterned or similarly colored backgrounds.
- Motion blur, wet or matted fur, or professional deliverables require pixel-perfect edges.
If you are unsure, try an automatic pass and inspect at full size. If you see missing strands, halos, or unnatural edges, plan for manual cleanup.
Step-by-step workflow to remove background from hair and fur
-
Prepare a working copy
Make edits on a duplicate file. Crop to the subject to reduce processing area. If possible, work from the original raw or high-bit-depth file for more tonal headroom. -
Improve contrast selectively
On a copy layer, use curves or levels to slightly darken the background behind light hair or lift it behind dark hair. Small, local adjustments help separation without harming hair detail. -
Run an automatic pass with edge refinement
Use a background-removal tool that offers a hair or edge refine feature. For tool-specific examples, see Clipping Magic’s Hair tutorial and Photoroom’s hair-background guide. -
Inspect edges at 100% zoom over multiple backgrounds
Check white, mid-tone, and dark backgrounds to reveal missing strands, halos, and jagged edges. Rotate or flip the layer to see problems less biased by the original composition. -
Remove color contamination (halo cleanup)
Use “decontaminate colors” where available, or sample and paint fringe colors on a new layer set to normal and clipped to the mask. Apply decontamination conservatively to avoid unnatural color shifts. -
Refine the mask for fine strands
Use a small soft brush on the layer mask to paint back individual hairs. Alternatively use a Refine Edge or Select and Mask workflow to recover semi-transparent strands. For fur, follow the natural direction of the fur and sample nearby colors when restoring wisps. -
Match edge softness, noise, and sharpening
Apply subtle feathering (typically 0.5–2 px depending on image resolution) and add matching grain or blur to the edge if the final background has texture. Match sharpening to avoid a cut-and-paste look. -
Export the appropriate format
For transparent backgrounds use PNG or WebP with alpha. For editable compositions, export layered PSD or TIFF with masks. Keep a master file with masks for future refinements.
Quick trade-offs table
| Task | Fast automatic tool | Manual or hybrid editor |
|---|---|---|
| Speed | Seconds | Minutes to hours |
| Cost | Low | Higher |
| Handling fine, translucent strands | Risk of artifacts | Best control |
| Motion blur or overlapping backgrounds | Often fails | Can be managed carefully |
| Best use case | Single-subject portraits, pets on plain backgrounds | Advertising, print, complex composites |
Practical tips that save time
- During the shoot, increase subject-background contrast and avoid backgrounds the same hue as hair. Backlit hair benefits from a rim light to separate edges.
- Use the highest-quality source file available. Raw files give more latitude for separation.
- Preview the cutout at actual pixel size over several background colors. Small errors that are invisible when zoomed out matter in prints.
- Use selective cloning and smudge only as a last step to avoid smoothing real hair texture.
- When restoring fur, work with the direction and length of the fur. Sample neighboring fur colors to paint believable strands.
When to call a manual editor
Hire a manual editor if any of the following apply:
- Fine, translucent hair against cluttered or similarly colored backgrounds.
- Pets with long wisps overlapping patterned backgrounds or fur that is wet, matted, or in motion.
- High-stakes outputs such as billboards, catalogs, or client work where visible artifacts are unacceptable.
Short quality checklist before delivery
- Inspect edges at 100% on white, mid-tone, and black backgrounds.
- No obvious color fringing; decontamination used conservatively.
- Edge feathering, grain, and sharpening match the target background.
- Exported in the correct format (alpha PNG/WebP or layered PSD/TIFF).
- Retain a master file with masks for future tweaks.
Frequently asked questions
Will automatic background removers always handle flyaway hair?
No. Automatic tools often handle the bulk of separation well but frequently miss individual flyaway strands or produce halos. Always inspect at full size and be prepared to refine the mask or hire an editor.
Which export formats preserve transparency and editable edges?
Use PNG or WebP with alpha for straightforward transparency. For professional workflows where masks must remain editable, export layered PSD or TIFF with masks.
How can I check for color fringing quickly?
Place the subject over high-contrast backgrounds (white and dark) and look for thin lines of the original background color. Use a decontaminate color feature or sample and paint fringe colors on a new layer clipped to the mask.
Is feathering always good for hair edges?
Small amounts of feathering can help blend edges into a new background. Too much feathering makes hair look soft and unrealistic. Start small and preview at the final output size.
Can I use the same steps for pet fur and human hair?
The same principles apply, but fur often has stronger directional texture. When restoring fur, work in the direction of the fur, sample adjacent colors, and prioritize preserving texture.
What if hair color closely matches the background?
Automatic tools struggle when subject and background tones are similar. Small background adjustments, careful luminosity-based selections, or manual painting of strands will improve results.
References
- Clipping Magic Hair tutorial: official source
- Photoroom hair-background guide: vendor source
Related guides and next steps
- For pet-specific advice, see our guide on removing backgrounds from pet photos.
- To extract a person from a group photo, see our group extraction guide.
- For a full reference on background removal, read the complete background removal guide.
- Ready to try a fast background removal and refine edges in your browser? Use Motionix’s background remover tool.
Related Motionix tools and guides
remove background pet photos · extract person group photo · complete guide background removal
Keep reading
make transparent png ·
How to Make a Transparent PNG from Any Image
Step-by-step guide to make transparent PNGs from any image: explains alpha transparency, why JPEG can't store transparency, methods to remove backgrounds, how to check edges (checkerboard), and how to export without flattening. Includes PNG vs WebP note, practical tips, a short quality checklist, FAQs, and Motionix tool CTA.
Read
remove background from logo ·
How to Remove the Background from a Logo and Keep Edges Clean
Step-by-step guide to remove background from logo while preserving clean edges, anti-aliased outlines and small text. Compares automated tools, raster editing, and vector export; includes a quality checklist and FAQs.
Read
gif maker ·
GIF Maker Guide: Turn a Short Video into a Useful Loop
Make a GIF from MP4 or WebM in your browser. Compare Motionix quality presets, trim a short loop, reduce file size, and troubleshoot failed exports.
ReadConversation
Join the conversation
Share a useful question, correction, or practical tip. Comments are reviewed before they appear.
Loading…